The first step to setting up your environment is to install Vivado. Vivado is a program provided by Xilinx (the manufacture of the FPGA on the Au) that is used to build your projects. It holds all the secret sauce that converts your text into an FPGA configuration file (bin file).
Head over to Xilinx's website and download the Vivado here. Avoid version 2020.3.
I recommend downloading the Web Installer as it will save you time. As of 2024.1, it they only offer the Web Installer. During installation, you get to select what gets installed saving space as well.
You will need to create an account with Xilinx to download the software. This is required by the U.S. government since the software falls under some export regulations.
You will also need this account during installation for the web installer to be able to download the various components.
Launching the Installer
If you are running Windows, double-click the .exe file that you downloaded.
If you are on Linux, you may need to add execution privileges to the .bin file. You can do that with the following command.
chmod +x Xilinx_Vivado_File.bin
You will need to change the name of the .bin file to match the on you downloaded.
You can then run it.
You don't need root permissions if you are installing it somewhere you already have write permissions.
I usually install mine to /opt/Xilinx which I have set up to be owned by me.
Installing
The installer itself is pretty straight forward.
First, you will have to log in to your account.

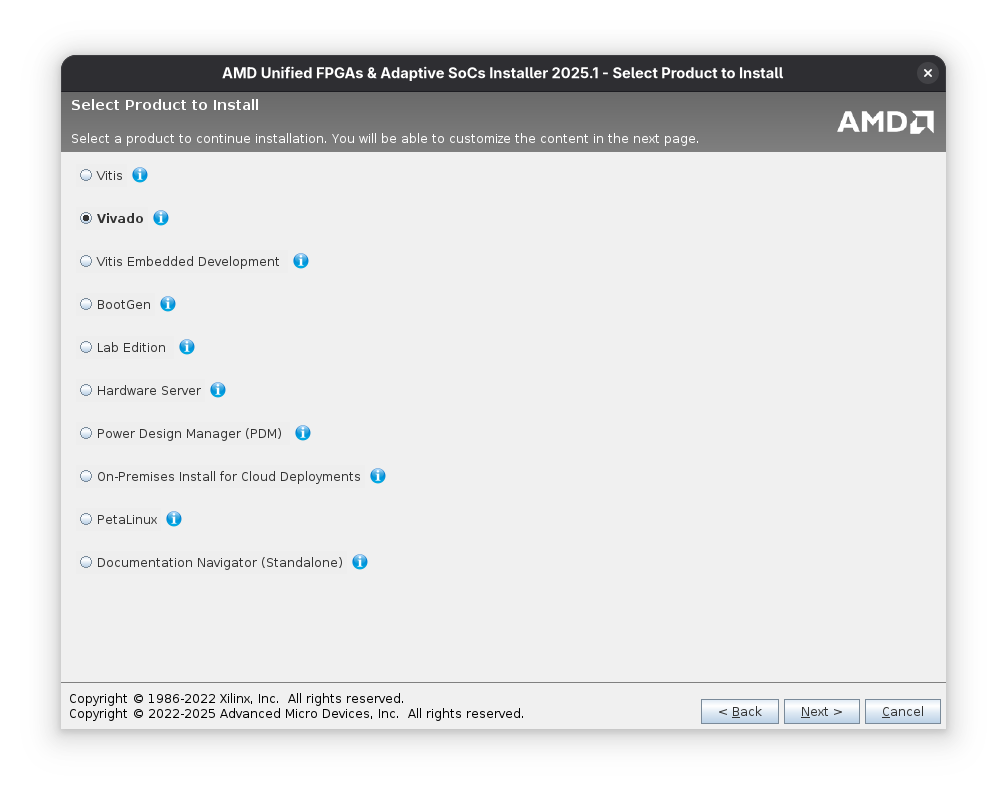
You'll then have to accept some terms and conditions. The page after that asks what product you would like to install. Select Vivado.

The next page asks what edition to install. If you don't want to pay for a license, select the Standard version. The main difference between the two (other than cost) is the devices that are supported. The free tier supports all the Alchitry boards.

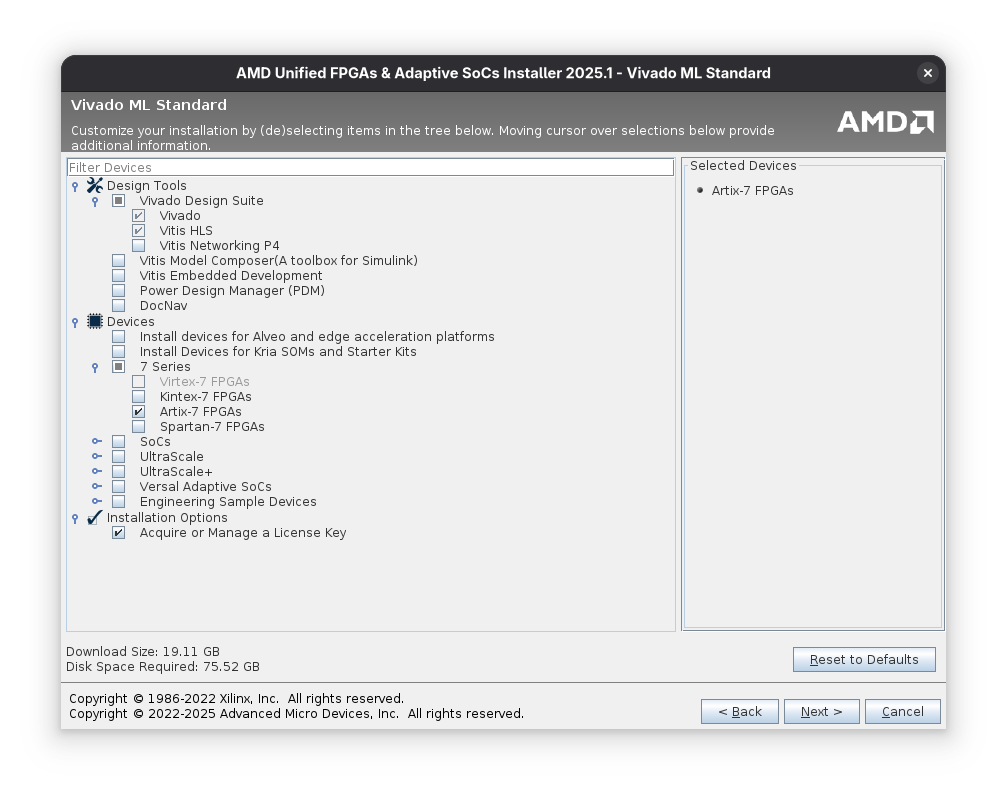
The next page allows you to choose what you install. The import option in our case is the Artix-7 FPGAs box under 7 Series under Devices. Nothing else is strictly required.

On the next page, select where you want to install it.

Now wack that Install button and let it do its thing.
When you go to use Alchitry Labs, you'll need to point it to where Vivado is installed via the settings.
In my case, I pointed it to /opt/Xilinx/2025.1/Vivado.